


Rockwool has become one of the most popular growing mediums for hydroponic and indoor growers. It’s clean, consistent, lightweight, and easy to use once you understand the basics. Whether you’re starting seeds, rooting cuttings, or moving plants into a larger hydroponic system, rockwool gives you a highly aerated environment that encourages strong, fast root development.
If you’ve never used rockwool before, this guide covers everything you need to know: how to prepare it properly, how pH affects performance, and how to transplant without stressing your plants.
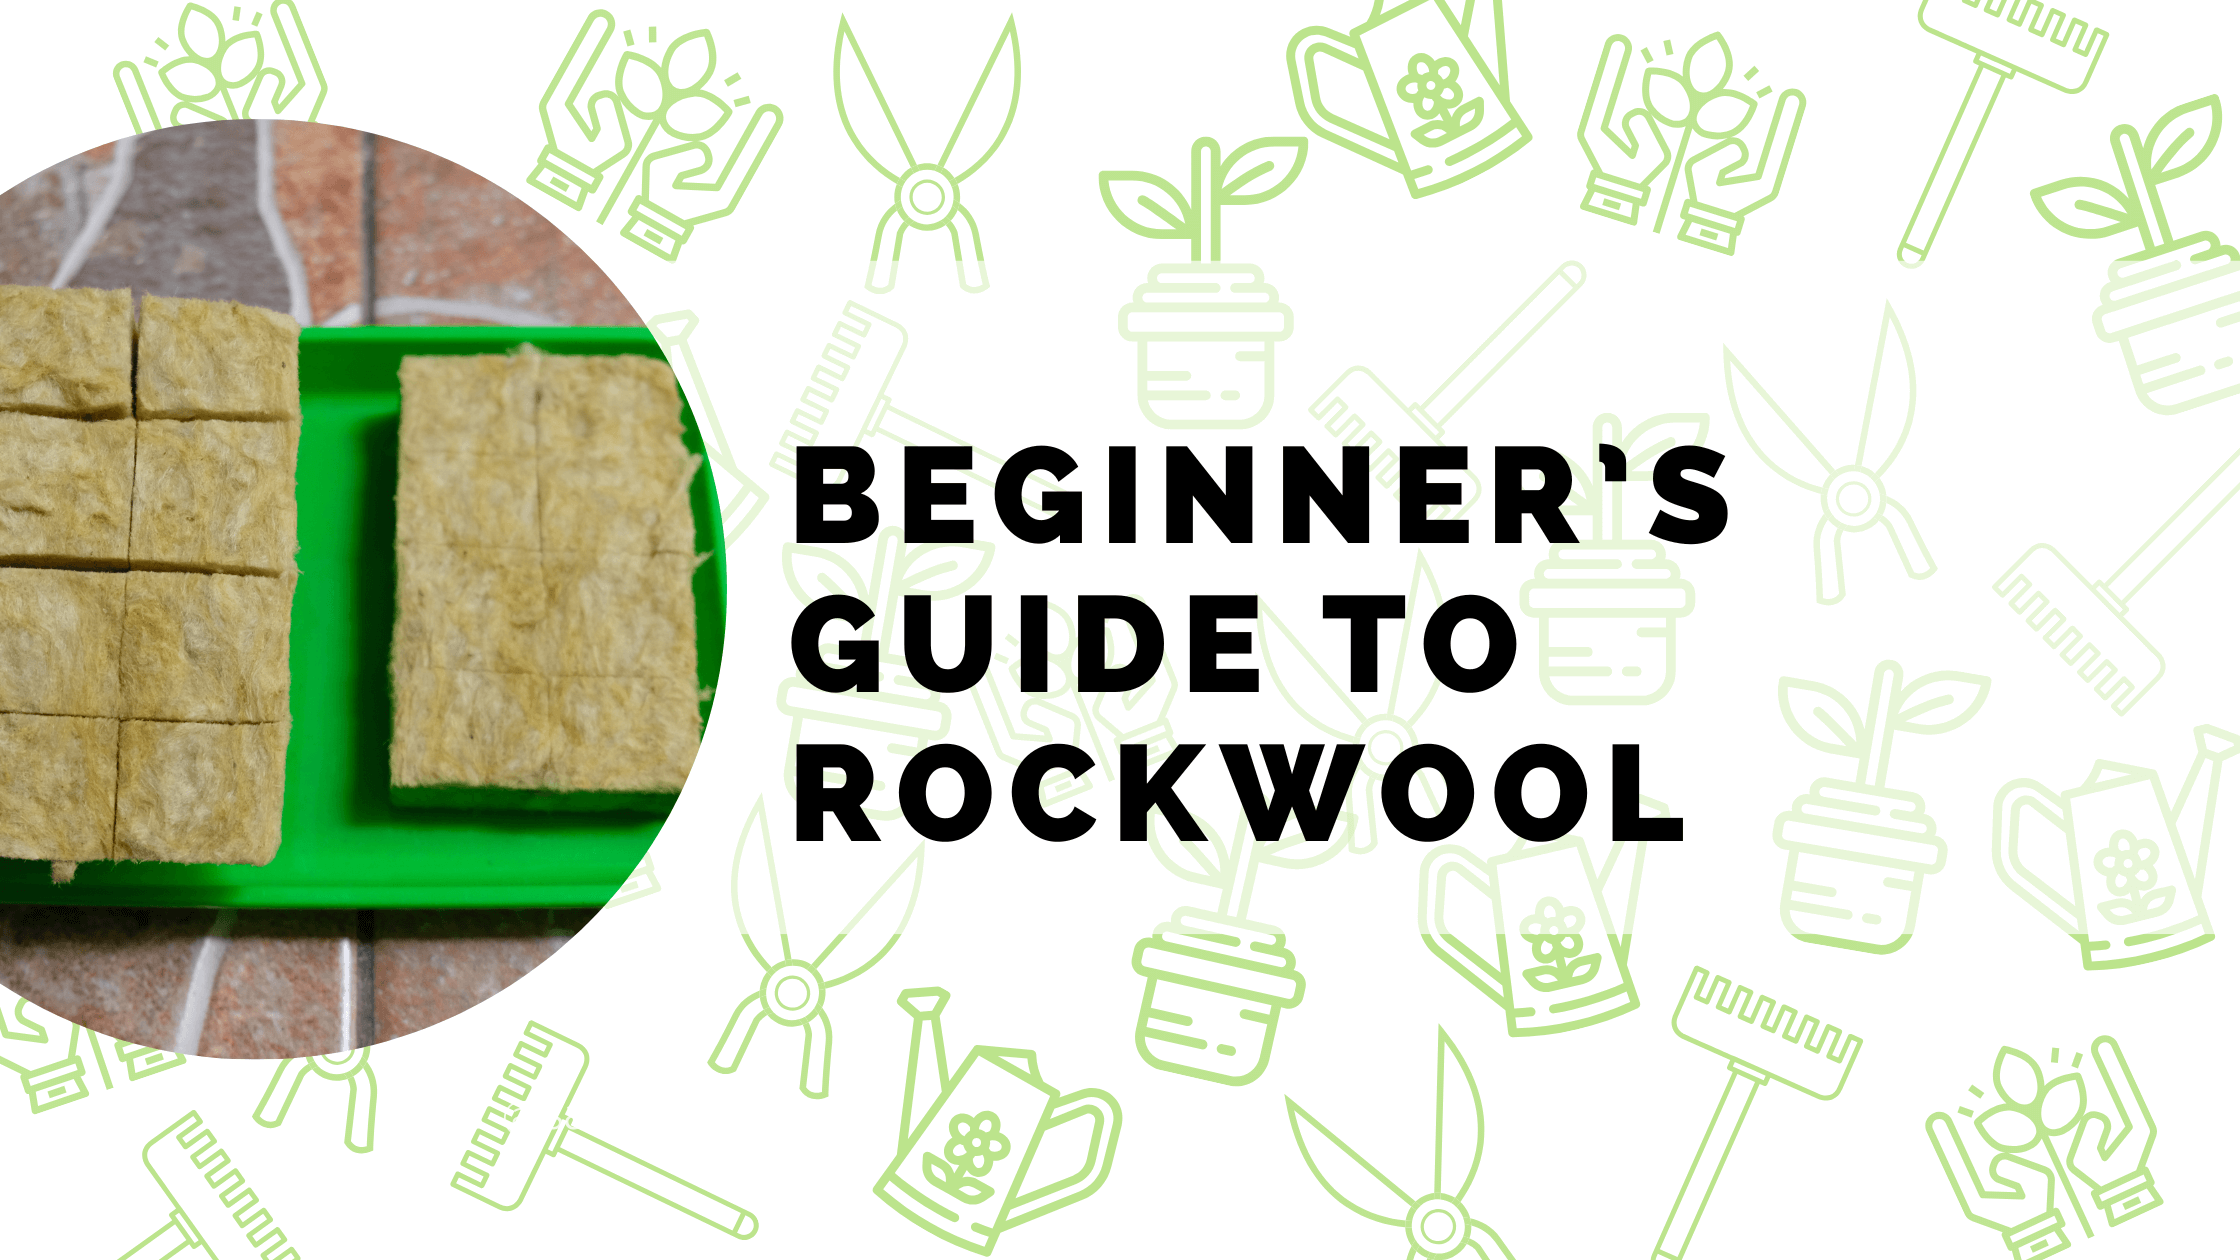
Why Rockwool Works So Well
Rockwool is made by heating natural basalt rock to extremely high temperatures and spinning it into fibrous slabs or cubes. The result is a sterile, airy, and water-retentive medium that delivers both moisture and oxygen—two things roots need in constant balance.
Because rockwool is uniform, it removes much of the guesswork. Every cube retains water predictably, drains evenly, and offers a stable structure for young roots.
Step 1: Preparing Rockwool (Don’t Skip This)
Straight out of the package, rockwool has a naturally high pH of around 7.0–8.0. Plants prefer a slightly acidic environment, so you’ll need to condition the cubes before use.
Here’s the correct prep method:
- Mix a pH-adjusted solution
Use clean water adjusted to pH 5.5. This helps bring the cube down into the correct range. - Soak the rockwool
Place cubes or slabs in the solution and allow them to soak for about 20–30 minutes.
Avoid pushing them underwater—rockwool naturally absorbs moisture. - Do not squeeze the cubes
Squeezing damages the internal fibre structure and disrupts how water and air move through the medium. Simply let the cubes drain on their own.
When prepped correctly, your rockwool should settle at a pH between 5.5 and 6.0, which is the sweet spot for seedlings and clones.
Step 2: Starting Seeds or Cuttings
For seeds:
- Drop one seed into the hole at the top of each cube.
- Keep cubes moist (not dripping) and place them in a humidity dome or seedling tray.
- Aim for warmth and gentle airflow to reduce mould.
For cuttings:
- Dip the stem in rooting gel or powder.
- Insert the cutting into the pre-made hole or widen it slightly with a clean tool.
- Maintain high humidity until roots begin to form.
Rockwool provides an ideal balance of moisture and aeration, which encourages quick germination and rapid root production.
Step 3: Transplanting Rockwool Seedlings
Once roots emerge from the sides or bottom of the cube, your seedlings or cuttings are ready to move into their final container or hydroponic system.
You can transplant rockwool into:
- LECA (clay pebbles)
- Coco peat mixes
- Dutch buckets
- NFT channels
- DWC net pots
- Grow bags filled with your preferred medium
Place the entire cube into the new medium—no need to remove it. Rockwool does not break down, but it also doesn’t interfere with growth when used correctly.
Tips for Best Results
- Avoid letting rockwool dry out completely; it becomes hydrophobic.
- Maintain a consistent pH in your nutrient solution.
- Keep airflow moving to reduce algae on the surface.
- Always handle cubes gently to maintain their structure.
Rockwool is one of the simplest and most reliable ways to start healthy, vigorous plants. With proper preparation and a few basic techniques, you’ll get consistent results from seedling stage right through to transplanting—no matter what system you grow in.