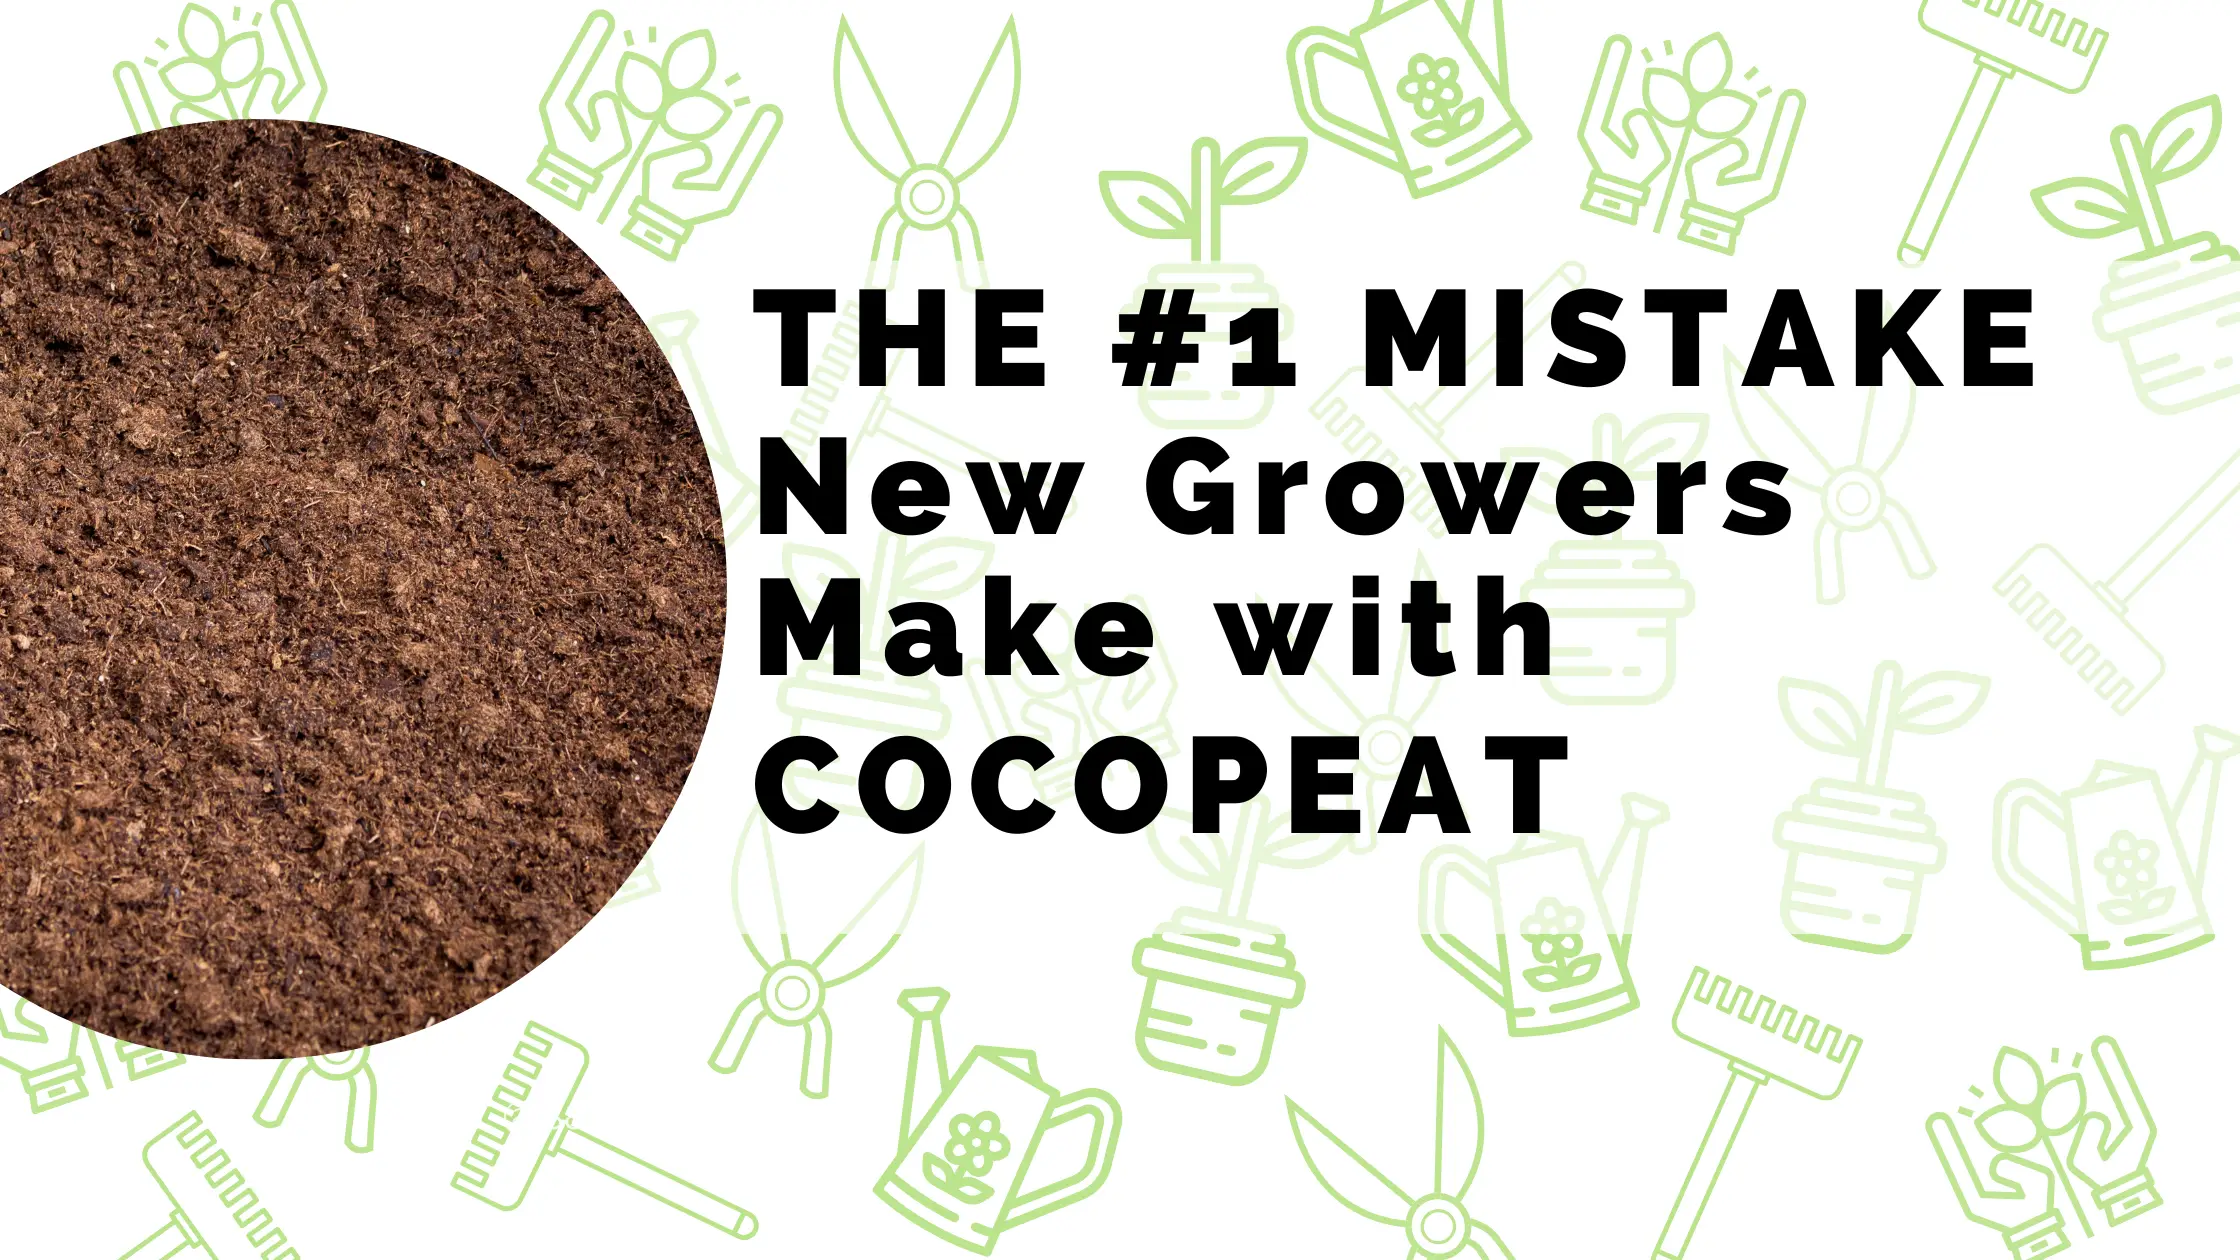
Posted on

Soil Additives: What to add when…

If your plants aren’t thriving, the issue is often less about your setup and more about what you’re feeding them. Different growth problems point to different deficiencies. Here’s how to match the right input to the problem.

What to add if your plants look weak or pale

When plants lose their rich green colour or appear stunted, it’s usually a sign they’re lacking essential nutrients needed for strong vegetative growth. Calcium nitrate helps restore vigour by supporting leafy development while strengthening overall plant structure. The result is healthier, more resilient plants that can sustain faster growth.

What to add if your roots are underdeveloped

Healthy growth starts below the surface. If your plants are slow to establish or struggle to take off, weak root systems are often the cause. Mono Potassium Phosphate (MKP) provides a high dose of phosphorus, which is critical for root development. It also sets your plants up for a smoother transition into the flowering phase later on.

What to add if your plants aren’t flowering or fruiting well

Poor flowering or low yields can be frustrating, especially when everything else seems right. This is often linked to a lack of potassium during the reproductive stage. Potassium sulphate (SOP) enhances flower and fruit development, improving both quality and quantity so your plants can reach their full potential.

What to add if you’re seeing blossom end rot or weak structure

Issues like blossom end rot or weak stems point to calcium deficiencies, often combined with a lack of magnesium. Calcium magnesium supplements help strengthen cell walls and support key plant functions like photosynthesis. This leads to sturdier plants that are better equipped to handle stress.

What to add if your leaves are yellowing

Yellowing leaves are a common warning sign, typically caused by a magnesium deficiency that affects chlorophyll production. Epsom salts (magnesium sulphate) offer a fast-acting solution, restoring green colour and improving the plant’s ability to absorb and use nutrients effectively.

What to add if your hydro setup has root issues

In hydroponic systems, root health is everything. If roots are struggling or you suspect low oxygen levels, hydrogen peroxide can help. It increases oxygen availability in the water and helps keep your system clean, reducing the risk of root rot and other issues.

What to add if you want an all-in-one nutrient solution

If you’re looking for simplicity without compromising results, a balanced nutrient is the way to go. Hydroflow delivers a mix of essential macro and micronutrients, supporting plants through all growth stages. It’s an easy, reliable option for maintaining consistent plant health and performance.

What to add if your grow medium needs improvement

Sometimes the problem isn’t the nutrients — it’s the environment around the roots. Poor aeration or water retention can limit growth. Adding perlite or vermiculite improves airflow, drainage, and moisture balance, creating the ideal conditions for roots to thrive.

Posted on

How to Use pH Up and Down for your Hydroponic Solution

Getting your pH right is one of the most important steps in successful growing. No matter how premium your nutrients are, if your pH is off, your plants simply won’t be able to absorb them properly.

Happy Harvest pH Up & Down are specifically formulated to increase the acidity of your water or nutrient solution. It helps you bring your mix into the optimal pH range where nutrient uptake can occur efficiently and consistently.

Why pH Matters

pH stands for “potential Hydrogen” and is measured on a scale from 1 to 14. A value of 7 is neutral. Numbers below 7 indicate acidity, while values above 7 indicate alkalinity.

For most hydroponic and soil-less growing systems, the ideal nutrient solution range sits between 5.5 and 6.5. Within this window, essential nutrients remain available to your plants. Outside of it, nutrients can become locked out — even if they’re present in the solution.

How to Use Happy Harvest pH Down

Always mix your nutrients first. pH correction should be the very last step when preparing your solution.

Using a reliable pH meter, test your solution. If adjustment is needed, add small amounts of Happy Harvest pH Down or pH Up at a time. Stir thoroughly and test again between doses. Small corrections are far more effective and safer than large adjustments.

If you’re using Happy Harvest pH Down or pH Up for the first time, it’s a good idea to practise with a 10-litre bucket of plain water. This will give you a feel for how much product is required before working with a full nutrient mix.

Once you’ve reached your target range (5.5–6.5), allow the solution to stand for 30 minutes and test again. pH levels can shift as gases like carbon dioxide dissolve into the water or through aeration. If necessary, make a final minor adjustment.

Handle With Care

Happy Harvest pH Up and pH Down are strong acids and must be handled responsibly. Avoid contact with skin and eyes, as it can cause serious burns. If contact occurs, rinse immediately with plenty of water. Do not ingest, keep out of reach of children, and never mix it with pH Up.

Precision makes the difference between average results and a strong harvest. With careful measurement and safe handling, Happy Harvest pH solutions helps you create the ideal environment for nutrient uptake — and better growing outcomes.

Posted on

Common Myths About Hydroponics

Hydroponics has been around for decades, yet it’s still surrounded by misconceptions.

Myth 1: Hydroponics Is Only for Commercial or High-Tech Growers

One of the biggest misconceptions is that hydroponics is complicated, expensive, or only suitable for large-scale operations.

In reality, hydroponics can be as simple or as advanced as you want it to be. Many home growers start with basic systems using buckets, trays, or small reservoirs. With the right setup, hydroponics can even be easier to manage than traditional soil growing, as watering and feeding are more controlled and predictable.

Myth 2: Plants Grown Hydroponically Are “Unnatural”

This myth often comes from the idea that plants must grow in soil to be healthy.

Plants don’t actually need soil. They need nutrients, water, oxygen, and support for their roots. Hydroponics simply delivers these elements directly, without relying on soil as a middleman. In fact, hydroponic growing often allows for better control over what plants absorb, since hydroponic nutrients are precisely measured and consistently available.

Myth 3: Hydroponic Nutrients Are Harmful or Synthetic Chemicals

Hydroponic nutrients are often misunderstood as harsh or unsafe. The truth is that plants absorb nutrients in the same ionic form whether they come from soil or a hydroponic solution.

In soil, nutrients must first break down before plants can access them. In hydroponics, those nutrients are already available, which is why growth is often faster and more efficient. When used correctly, hydroponic nutrients are safe, effective, and designed to support balanced plant development from root to harvest.

Myth 4: Hydroponics Doesn’t Need Growing Mediums

Many people assume hydroponics means plants grow only in water. While some systems do use bare roots, most hydroponic setups rely on hydroponic growing mediums to support plants and manage moisture and oxygen at the root zone.

Popular hydroponic growing mediums include coco coir, perlite, clay pebbles, and rockwool. These materials don’t feed the plant. They provide structure, airflow, and water retention while allowing nutrients to flow freely.

Myth 5: Hydroponics Uses More Water Than Soil Growing

This myth couldn’t be further from the truth.

Hydroponics is widely recognised as one of the most water-efficient growing methods available. Because water is recirculated or delivered directly to the roots, far less is wasted through evaporation or runoff. In water-scarce regions, hydroponics can be a smarter and more sustainable alternative to traditional soil growing.

Myth 6: Hydroponics Is High Maintenance

While hydroponics does require monitoring, it’s not inherently more work than soil growing — it’s just different work.

Instead of guessing when to water or feed, growers focus on consistency: checking pH, monitoring nutrient strength, and maintaining clean systems. Once a routine is established, hydroponics often becomes more predictable and less time-consuming than soil-based growing.

Myth 7: Hydroponics Is Less Forgiving Than Soil

It’s true that hydroponics responds faster to mistakes — but that’s also one of its strengths.

Because plants receive nutrients and water directly, adjustments take effect quickly. Issues like nutrient imbalances or pH drift can often be corrected within days, rather than weeks. With the right understanding of hydroponic nutrients and growing mediums, growers gain far more control over plant health than they ever could with soil.

Posted on

Rooting Gel for Beginners


How to Use Rooting Gel for Plants: A Simple Guide to Successful Propagation

Rooting gel is one of the most effective tools for propagating plants from cuttings. Whether you’re cloning herbs, ornamentals, houseplants, or more demanding crops, using a rooting gel can dramatically increase your success rate by encouraging faster, stronger root development.

Also known as cloning gel or hormone gel, this product helps cuttings form roots more reliably than water alone. In this guide, we’ll explain what rooting gel is made of, how it works, and walk you through a step-by-step process for using it correctly. We’ll also share a few practical tips to help you avoid common mistakes and get the best results.


What Is Rooting Gel (and What Is It Made Of)?

Rooting gel is a plant propagation aid designed to stimulate root growth on cuttings. Unlike powdered or liquid rooting hormones, gel formulations coat the cutting evenly and stay in place, protecting the cut surface while roots begin to form.

Most rooting gels are made from:

  • Synthetic or plant-derived auxins (rooting hormones), such as IBA (Indole-3-butyric acid), which trigger root cell development
  • A gel carrier, which helps the hormone adhere to the cutting
  • Stabilising agents and preservatives, to maintain consistency and shelf life

The gel creates a protective barrier around the cut end of the plant, reducing air exposure and helping prevent infection while the rooting hormone gets to work.

Because of this combination of protection and hormone delivery, rooting gel is often preferred over powders or liquids, especially for softwood or delicate cuttings.


Why Use Rooting Gel?

While some plants will root in plain water or soil, rooting gel offers several advantages:

  • Faster root initiation
  • Higher success rates, especially with difficult plants
  • More uniform root development
  • Reduced risk of rot or infection at the cut site

For growers who want consistency and reliability, rooting gel is a simple upgrade that can make a noticeable difference.


Step-by-Step: How to Use Rooting Gel

Using rooting gel is straightforward, but technique matters. Follow these steps for best results:

1. Prepare Your Tools and Workspace

Before you start, make sure everything is clean. Use a sharp, sterilised blade or scissors to take cuttings, and work on a clean surface. Contamination is one of the most common causes of cloning failure.

2. Take a Healthy Cutting

Select a healthy, pest-free plant. Cut a section of stem just below a node (the point where leaves emerge). Most cuttings should be 8–15 cm long, depending on the plant type.

Remove the lower leaves so that no foliage will sit below the growing medium.

3. Scoop Out the Rooting Gel

Instead of dipping the cutting directly into the main container, scoop out a small amount of rooting gel into a separate, clean dish. This reduces the risk of contaminating the entire jar with plant material or microbes.

4. Apply the Gel

Dip the cut end of the stem into the gel, ensuring it is evenly coated. You only need to cover the bottom 1–2 cm of the cutting. Avoid excessive gel, as more is not better.

5. Insert Into Growing Medium

Immediately place the treated cutting into your chosen growing medium. This could be propagation plugs, coco coir, soil, or another suitable rooting medium. Make sure the gel-coated section is fully inserted and supported.

Gently firm the medium around the cutting to remove air pockets.

6. Create the Right Environment

Cuttings need warmth, humidity, and indirect light. Keep the medium moist but not waterlogged, and avoid direct sun until roots have formed.


Practical Tips for Better Results

Small details can make a big difference when working with rooting gel. Keep these tips in mind:

1. Scoop, Don’t Dip

Always scoop out what you need instead of dipping cuttings directly into the container. This helps prevent contamination and extends the usable life of the product.

2. Store Rooting Gel in the Fridge

Rooting gel lasts longer when stored cool. Keeping it in the fridge (sealed properly) can significantly extend its shelf life and effectiveness.

3. Keep Everything Clean

Clean tools, clean hands, and a clean workspace are essential. Many cloning failures are caused by bacteria or fungi introduced during cutting, not by the gel itself.


Common Mistakes to Avoid

  • Using too much gel
  • Letting the cut end dry out before applying the gel
  • Touching the gel-coated area with dirty fingers
  • Overwatering the growing medium

Rooting gel supports root growth, but it can’t compensate for poor hygiene or unsuitable conditions.


Rooting Gel vs Other Forms of Rooting Hormone

Rooting hormone comes in powder, liquid, and gel forms. While all can be effective, gel is often preferred because it:

  • Stays in place on the cutting
  • Reduces exposure to air
  • Provides consistent hormone coverage

For growers looking for ease of use and repeatable results, cloning gel is often the most forgiving option.


Final Thoughts

Rooting gel is a simple but powerful tool for anyone interested in plant propagation. By understanding what it’s made of, how it works, and how to apply it correctly, you can dramatically improve your cloning success.

With clean tools, a good environment, and a few smart handling practices, rooting gel can help turn healthy cuttings into strong, independent plants—every time.


Posted on

Beginner’s Guide to Rockwool: Prepping, pH and Transplanting

Rockwool has become one of the most popular growing mediums for hydroponic and indoor growers. It’s clean, consistent, lightweight, and easy to use once you understand the basics. Whether you’re starting seeds, rooting cuttings, or moving plants into a larger hydroponic system, rockwool gives you a highly aerated environment that encourages strong, fast root development.

If you’ve never used rockwool before, this guide covers everything you need to know: how to prepare it properly, how pH affects performance, and how to transplant without stressing your plants.

Why Rockwool Works So Well

Rockwool is made by heating natural basalt rock to extremely high temperatures and spinning it into fibrous slabs or cubes. The result is a sterile, airy, and water-retentive medium that delivers both moisture and oxygen—two things roots need in constant balance.

Because rockwool is uniform, it removes much of the guesswork. Every cube retains water predictably, drains evenly, and offers a stable structure for young roots.

Step 1: Preparing Rockwool (Don’t Skip This)

Straight out of the package, rockwool has a naturally high pH of around 7.0–8.0. Plants prefer a slightly acidic environment, so you’ll need to condition the cubes before use.

Here’s the correct prep method:

  1. Mix a pH-adjusted solution
    Use clean water adjusted to pH 5.5. This helps bring the cube down into the correct range.
  2. Soak the rockwool
    Place cubes or slabs in the solution and allow them to soak for about 20–30 minutes.
    Avoid pushing them underwater—rockwool naturally absorbs moisture.
  3. Do not squeeze the cubes
    Squeezing damages the internal fibre structure and disrupts how water and air move through the medium. Simply let the cubes drain on their own.

When prepped correctly, your rockwool should settle at a pH between 5.5 and 6.0, which is the sweet spot for seedlings and clones.

Step 2: Starting Seeds or Cuttings

For seeds:

  • Drop one seed into the hole at the top of each cube.
  • Keep cubes moist (not dripping) and place them in a humidity dome or seedling tray.
  • Aim for warmth and gentle airflow to reduce mould.

For cuttings:

  • Dip the stem in rooting gel or powder.
  • Insert the cutting into the pre-made hole or widen it slightly with a clean tool.
  • Maintain high humidity until roots begin to form.

Rockwool provides an ideal balance of moisture and aeration, which encourages quick germination and rapid root production.

Step 3: Transplanting Rockwool Seedlings

Once roots emerge from the sides or bottom of the cube, your seedlings or cuttings are ready to move into their final container or hydroponic system.

You can transplant rockwool into:

  • LECA (clay pebbles)
  • Coco peat mixes
  • Dutch buckets
  • NFT channels
  • DWC net pots
  • Grow bags filled with your preferred medium

Place the entire cube into the new medium—no need to remove it. Rockwool does not break down, but it also doesn’t interfere with growth when used correctly.

Tips for Best Results

  • Avoid letting rockwool dry out completely; it becomes hydrophobic.
  • Maintain a consistent pH in your nutrient solution.
  • Keep airflow moving to reduce algae on the surface.
  • Always handle cubes gently to maintain their structure.

Rockwool is one of the simplest and most reliable ways to start healthy, vigorous plants. With proper preparation and a few basic techniques, you’ll get consistent results from seedling stage right through to transplanting—no matter what system you grow in.

Posted on

Dutch Plantin Grow Bags Now Available at SA Horticultural Supplies

At SA Horticultural Supplies, we’re proud to bring our customers access to the latest and most sustainable growing innovations. One of our newest offerings is the Dutch Plantin Grow Bag, a product designed to transform the way you grow fruiting crops such as peppers, tomatoes, cucumbers, and berries. Whether you’re a commercial grower or a hobbyist gardener, these grow bags combine sustainability, efficiency, and reliability in one smart solution.

Why Choose Dutch Plantin Grow Bags?

The Dutch Plantin Grow Bag is made from 100% organic material and is completely peat-free, offering growers an environmentally friendly alternative to traditional substrates. Thanks to a unique production process, the bags maintain low sodium and chloride levels, ensuring a clean and healthy growing environment.

Unlike traditional soil, these grow bags are stable and reusable, making them suitable for multiple growing cycles and different crop types. This durability makes them a cost-effective choice, while also helping reduce waste in horticultural operations.

Superior Growing Performance

One of the key benefits of the Dutch Plantin Grow Bag is its ability to maintain a high air percentage throughout the entire cultivation period. This means roots get the oxygen they need to thrive, leading to stronger, healthier plants.

In addition, the bags have excellent moisture-retaining properties, ensuring crops receive consistent hydration while reducing the risk of over- or under-watering. With the right irrigation system—such as drip irrigation—these bags make it easy to achieve optimal water management.

For growers facing challenges with poor soil quality or soil-borne diseases, the Dutch Plantin Grow Bag provides a reliable alternative. It eliminates the risk of soil pathogens and minimizes the need for chemical treatments, creating a cleaner and safer environment for your crops.

Sustainable and Resource-Saving

Water scarcity is becoming an increasing challenge worldwide. Dutch Plantin Grow Bags are specifically designed to reduce fresh water usage, helping growers save considerable amounts while maintaining high productivity. They also require less fertiliser than traditional soil, lowering input costs and contributing to more sustainable farming practices.

Certified Quality and Responsibility

Dutch Plantin is committed to meeting the highest environmental and social standards. Their grow bags carry internationally recognized certifications, including:

  • Higg Certificate (2023): Awarded for strong environmental management and fair labor practices.
  • IMO India Certification: Guarantees sustainable, organic farming and processing methods.
  • SA8000: A global standard for social responsibility, ensuring worker health, safety, and well-being.
  • RHP Quality Mark: Verifying consistency, safety, and reliability for professional horticulture.

These certifications give growers peace of mind that they are investing in a product that benefits both their crops and the planet.

Product Features at a Glance

  • 100% organic, peat-free substrate
  • Low sodium and chloride content
  • Reusable across multiple growing cycles
  • High air content for optimal root health
  • Excellent moisture retention
  • Saves water and fertiliser
  • 15 litres when expanded, with 3–4 planting holes
  • Ideal for peppers, berries, tomatoes, and cucumbers

Available Now at SA Horticultural Supplies
The Dutch Plantin Grow Bag is more than just a growing medium—it’s a step towards more sustainable, efficient, and profitable cultivation. .


Posted on

5 Frequently Asked Questions About Hydroponics


By growing plants in nutrient-rich water instead of soil, hydroponics offers greater control, faster growth, and higher yields. At SA Horticultural Supplies, we’re often asked about the basics of hydroponics and what’s needed to get started. Below, we’ve put together answers to five of the most common questions — along with some product recommendations to help you succeed.


1. What exactly is hydroponics?

Hydroponics is a method of growing plants without soil. Instead, plants are supported by a growing medium (such as perlite, coco peat blocks, or vermiculite), while their roots are supplied with a water-based nutrient solution. Because the nutrients are delivered directly to the roots, plants often grow faster and healthier compared to traditional soil cultivation.


2. What are the benefits of hydroponics?

Hydroponics offers several advantages:

  • Faster plant growth and higher yields
  • Reduced water usage compared to soil gardening
  • Precise control over nutrients and pH
  • The ability to grow year-round, regardless of climate
  • Fewer soil-borne pests and diseases

For anyone looking to maximize efficiency, hydroponics provides a clear edge.


3. Which growing medium should I use?

The growing medium you choose depends on your crop and system:

  • Perlite: Lightweight, provides excellent aeration, and prevents root rot.
  • Coco Peat Blocks – 5kg: Great water retention and a sustainable choice; available in both washed and unwashed options.
  • Vermiculite: Retains moisture and nutrients well, making it useful in combination with other substrates.

Many growers experiment to find the perfect balance. A mix of perlite and coco peat, for example, offers both drainage and water retention.


4. Do I need special nutrients for hydroponics?

Yes. Standard garden fertilizers aren’t suitable for hydroponics because they lack the right balance of water-soluble nutrients. Hydroponic nutrients are specifically formulated to provide plants with everything they need in the right ratios. At SA Horticultural Supplies, we stock a range of nutrient solutions that work across leafy greens, herbs, and flowering plants. Pairing nutrients with the right pH test kits and meters ensures optimal uptake by the roots.


5. Is hydroponics only for commercial growers?

Not at all. While hydroponics is widely used by large-scale operations, it’s also perfect for home gardeners. Compact systems can be set up indoors, on balconies, or in small greenhouses. With the right growing media and a basic starter kit, anyone can begin experimenting with hydroponics at home.


Final Thoughts

Hydroponics is an exciting way to grow — whether you’re producing herbs on your kitchen counter or scaling up to commercial production. By choosing the right growing medium, nutrients, and equipment, you’ll set yourself up for healthy plants and reliable yields.

Explore our full range of hydroponic growing media, coco peat blocks, vermiculite, and perlite to get started today.


Posted on

The Applications and Benefits of Calcium Nitrate in Horticulture and Hydroponics

Calcium nitrate is a widely used water-soluble fertilizer that plays a critical role in both horticulture and hydroponics. It is a compound composed of calcium (Ca) and nitrate nitrogen (NO₃), both of which are essential nutrients for plant growth and development. Unlike many other fertilizers, calcium nitrate serves dual purposes—offering structural support through calcium and stimulating leafy growth through its nitrogen content. Its unique properties make it indispensable for growers seeking healthier, more productive plants.

Applications in Horticulture

In traditional soil-based horticulture, calcium nitrate is often used to prevent and correct calcium deficiencies. It is particularly useful in crops such as tomatoes, peppers, apples, and lettuce, which are highly susceptible to calcium-related disorders like blossom end rot and tip burn. Calcium is not very mobile in the plant, so regular supplementation ensures continuous uptake and avoids localised deficiencies during critical growth stages.

Calcium nitrate is usually applied through fertigation systems (injection into irrigation lines) or as a foliar spray. In greenhouse cultivation, it helps maintain the right nutrient balance in high-value crops, improving both yield and quality. Because it is quickly absorbed by plant roots and leaves, calcium nitrate is effective even in fast-paced growing environments.

Another application in horticulture is as a part of pre-planting soil treatments. When incorporated into the soil before planting, calcium nitrate improves soil structure and enhances root development, leading to better nutrient uptake and disease resistance.

Applications in Hydroponics

In hydroponic systems—where plants are grown in nutrient solutions without soil—calcium nitrate is a cornerstone component of most nutrient formulations. Since hydroponic plants rely entirely on what is provided in the solution, calcium nitrate becomes essential for supplying calcium, which is not easily available in other water-soluble forms.

In recirculating systems, calcium nitrate is typically added in a separate tank to avoid reactions with sulfates and phosphates, which can cause nutrient lockout. It is paired with other nutrients like magnesium sulfate and potassium nitrate to create a balanced, complete feed that supports vigorous vegetative growth and strong cellular development.

Because it contributes both calcium and nitrate nitrogen, calcium nitrate helps regulate osmotic pressure in plant cells, enhancing water uptake and reducing the risk of physiological disorders. This is especially important in hydroponics, where imbalances can quickly lead to poor plant health.

Key Benefits

  • Prevents Common Disorders: Regular use of calcium nitrate helps prevent blossom end rot, tip burn, and bitter pit—common in tomatoes, lettuce, and apples respectively.
  • Promotes Stronger Cell Walls: Calcium fortifies cell walls, leading to more robust plants that can resist stress, disease, and mechanical damage.
  • Fast Nutrient Uptake: The nitrate form of nitrogen is immediately available for plant absorption, promoting quick green growth without acidifying the growing medium.
  • Improves Root Development: In both soil and hydroponics, calcium nitrate supports healthy root systems, which are essential for nutrient uptake and plant stability.
  • Reduces Soil Acidity: Unlike ammonium-based fertilizers, calcium nitrate does not contribute to soil acidification, making it a safer long-term option for pH-sensitive crops.

In summary, calcium nitrate is a vital nutrient solution component in modern agriculture. Whether you’re growing in soil or hydroponically, its dual-nutrient profile makes it an efficient, reliable choice to ensure healthy, productive plants.

Posted on

When and How to Check pH in Your Hydroponic System

Maintaining the right pH level is crucial for a thriving hydroponic
system. If your pH drifts too high or too low, your plants won’t be
able to absorb the nutrients they need — even if those nutrients are
present in abundance. So, when should you check and measure the pH in
your hydro setup?

How often should I monitor the pH of my hydroponic system?

For optimal growth, it’s best to check the pH of your hydroponic
system every day. pH can fluctuate as plants absorb nutrients, as
water evaporates, or as you add fresh water and nutrients to the reservoir.
Daily monitoring allows you to catch small changes before they become
big problems.

Using a pH meter makes this process quick and accurate. Unlike test
strips, a digital pH meter gives you a precise reading within seconds,
so you can adjust as needed without guesswork. Make sure to calibrate
your meter regularly for reliable results.

When should I monitor the pH of my hydroponic system?

Anytime you add nutrients or top up your water reservoir, it’s
essential to measure the pH. Nutrients can shift pH levels, especially
in concentrated formulas. Even plain water can alter pH, depending on
its source and natural mineral content.

Once you’ve added your nutrients or adjusted water levels, let the
solution mix for at least 30 minutes, then test the pH. If it’s
outside the ideal range (usually 5.5–6.5 for most plants), use pH up
or pH down solutions to bring it back in line.

  1. When Plants Show Nutrient Deficiencies

Are your plants looking unhealthy despite regular feeding? Discoloured
leaves, stunted growth, or strange spotting could indicate nutrient
lockout caused by incorrect pH levels. If your plants can’t access
nutrients, they’ll show symptoms.

Before you panic and start adding more nutrients, test your pH. You
might find that simply balancing the pH solves the issue without the
need for extra additives.

2. After Cleaning or Flushing the System

Regular cleaning and occasional system flushes help prevent root rot
and nutrient buildup, but they can also affect pH. After cleaning with
hydrogen peroxide or flushing with plain water, always test and adjust
the pH before reintroducing plants to the system.

Hydrogen peroxide is especially useful for sterilizing hydro
components and oxygenating the root zone, but it can slightly raise pH levels.
Keep your meter handy to fine-tune the balance after cleaning.

Final Thoughts

pH management is one of the most important aspects of hydroponic
success. Daily checks, post-maintenance tests, and quick adjustments
with the right products will keep your system stable and your plants
thriving.

If you need reliable tools to stay on top of your system’s pH, check
out our range of pH meters, pH up/down solutions, and hydrogen
peroxide. A little diligence goes a long way, and with the right
supplies, healthy hydroponic plants are within easy reach!

Posted on Leave a comment

Which growing medium should I choose for my hydroponic setup?

Hydroponics is a soil-free method to grow plants efficiently, but selecting the right growing medium will play a crucial role in plant health and productivity. Hydroponic growing mediums provide support and facilitate nutrient absorption. Among the most popular options are cocopeat, stone wool, and expanded clay. Your choice of medium might be influenced by its unique benefits or your specific choice of hydroponic system. Let’s explore what they are, their advantages, and the types of systems they work best with.

Cocopeat: A Renewable and Moisture-Retentive Medium

Cocopeat, also known as coir or coconut fiber, is derived from coconut husks. It is a natural, renewable resource.

Best for: Cocopeat is widely used in drip systems, Dutch buckets, and hybrid hydroponic setups that require a balance between water retention and aeration.

Why Choose Cocopeat?

Sustainability: It is an eco-friendly alternative to peat moss and other non-renewable media.

Water Retention: It holds water well while still allowing for good aeration, making it ideal for water-sensitive crops.

pH Neutrality: Cocopeat has a near-neutral pH, which helps maintain stable nutrient levels.

Nutrient Absorption: It has high cation exchange capacity (CEC), allowing for better nutrient retention and slow release to plants.

Cocopeat is popular for growers who want an organic, biodegradable medium that promotes strong root growth while maintaining moisture balance.

Stone Wool: A High-Performance Growing Medium

Stone wool, commonly known as Rockwool, is a man-made mineral fiber derived from volcanic rock. It is heated and spun into fibrous blocks or cubes that provide excellent air and water retention.

Best for: Stone wool is ideal for NFT (Nutrient Film Technique), deep water culture (DWC), and vertical hydroponic systems. It is widely used for germination and seedling propagation before transplanting into larger hydroponic systems.

Why Choose Stone Wool?

Excellent Drainage: Provides a balance of water retention and aeration, preventing overwatering.

Sterile and Inert: It doesn’t harbor pathogens and does not interact with nutrient solutions, making it ideal for precision growing.

Structural Stability: It maintains its form over time, providing long-term root support.

Stone wool is favored by commercial hydroponic growers because of its efficiency, predictability, and ability to support plant growth from seedling to harvest.

Expanded Clay: A Durable and Reusable Medium

Expanded clay, also known as clay pebbles or LECA (Lightweight Expanded Clay Aggregate), is made by heating clay ntil it expands into lightweight, porous pellets.

Best for: Expanded clay is best suited for ebb and flow (flood and drain), deep water culture (DWC), and aquaponics systems.

Why Choose Expanded Clay?

Superior Aeration: The porous structure provides ample oxygen to roots, preventing root rot.

Reusable: It can be cleaned and reused, making it a cost-effective and sustainable choice.

Excellent Drainage: Ensures fast drainage, preventing waterlogging and promoting root health.

Growers choose expanded clay for its reusability, superior oxygenation, and ability to support vigorous plant growth.

Conclusion

Choosing the right growing medium depends on your hydroponic system and plant needs. Cocopeat is best for moisture retention and organic growing, stone wool excels in seedling propagation and commercial systems, and expanded clay is perfect for aeration and reusability. Understanding the strengths of each medium helps ensure successful hydroponic growth and higher yields.